i biked down to the cafe in the late morning to 1) deliver some kimchi, 2) defrost the freezer, 3) bring in the trash cans, and 4) let hailey out to use the bathroom. i made the kimchi saturday night. i usually like to wait 3 days before i put the kimchi away in the fridge to stop the fermentation, and though today tuesday was technically the third day, it hadn't been 72 hours yet. when i tried a piece it still tasted a little raw and could use some more fermentation. nevertheless, this was the best time for me to delivery them, as i put 3 jars in a cardboard box stuffed with packaging paper and strapped to the back of my bike. my 2nd aunt agreed that it could use more sourness and left the jars outside to ferment some more. saturday was also the last time i was here to defrost the freezer. after just 3 days, there wasn't a lot of frost on the fins and i managed to melt everything in a few minutes. finally i went to my sister's place to bring in the trash cans and let hailey outside. i noticed my sister had already placed a rug in the living room.

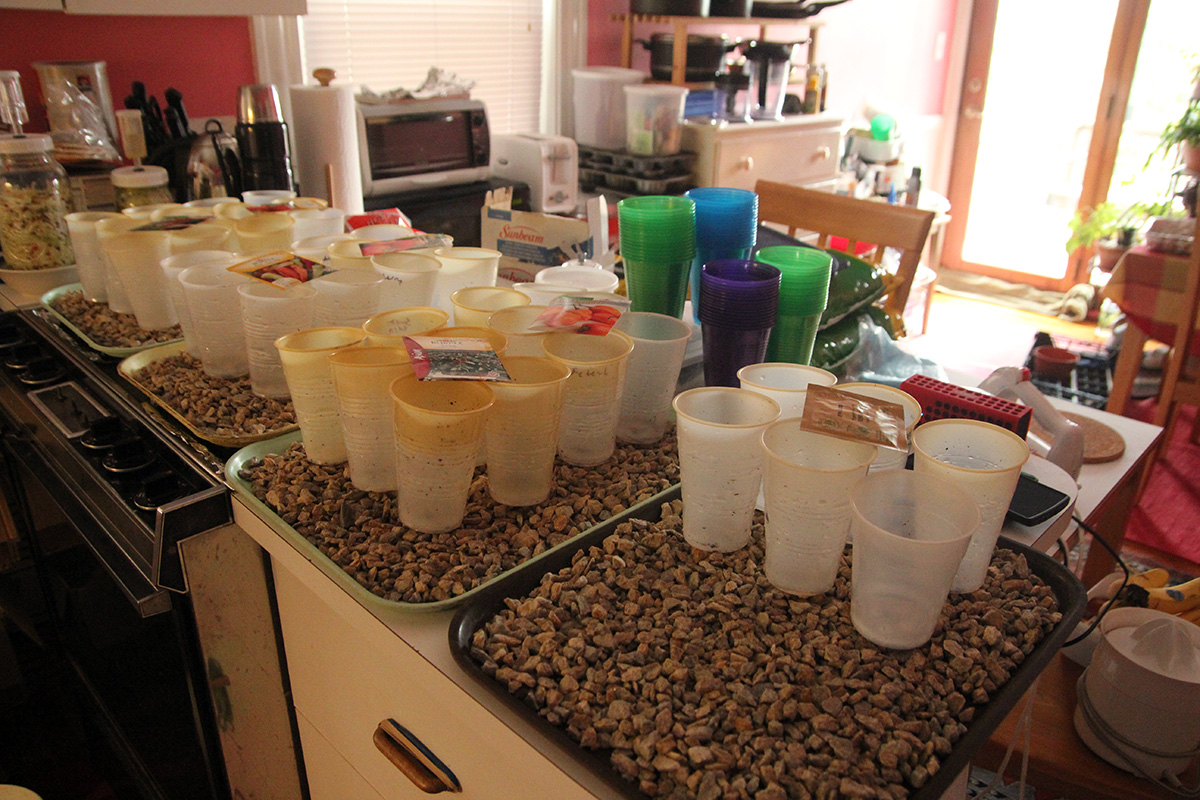
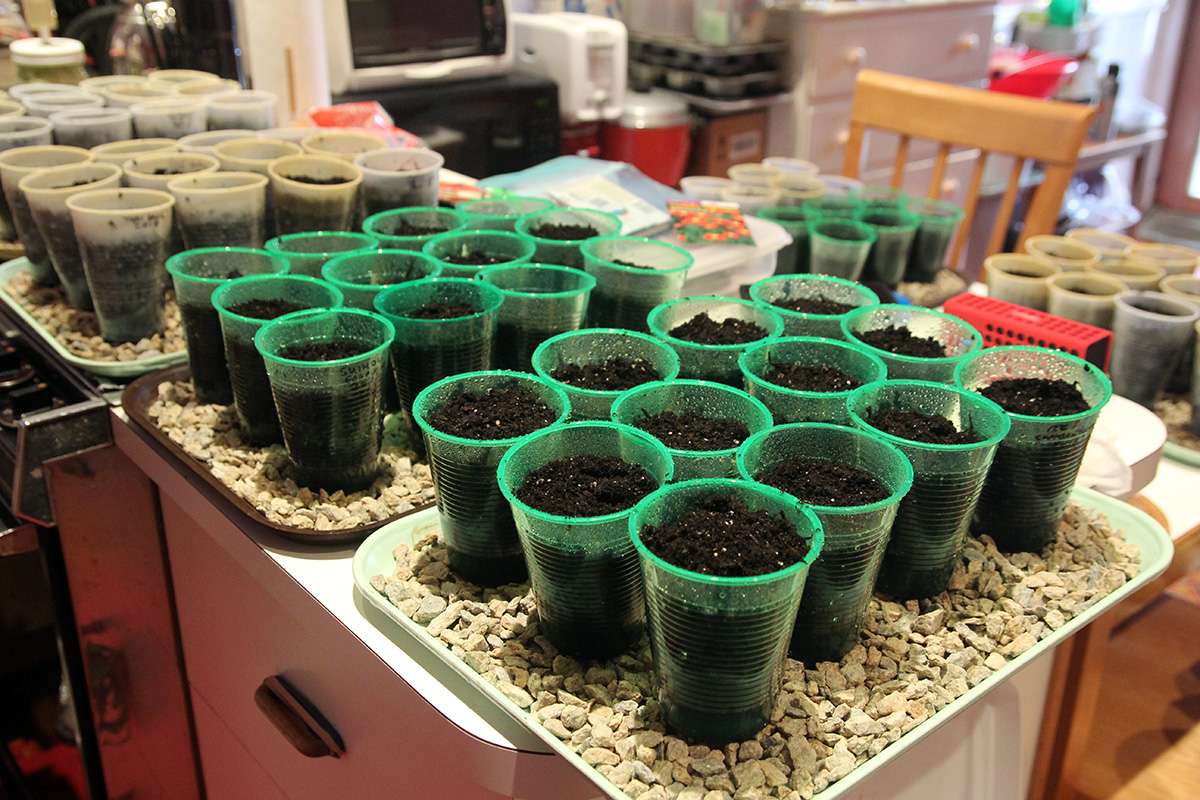
i'd set up my grow closet 10 days ago (bought dirt and a new light) so it's long overdue that i finally plant my seeds. the trick is to time the planting just right so as soon as the garden is warm enough to transplant, my seedlings are ready to go. the usual method is to find out when the last frost date and work backwards the number of weeks. average last frost in boston is may 1st-10th, so planting my seeds now gives me a good 6-7 weeks of starting time. it's also fitting that today is the first official day of spring.
i was going to plant the seeds yesterday, but was still waiting for a few items i ordered online from park seeds to arrive. as if on cue, they showed up in the mail yesterday, so now i had no more excuses.
| plant | source | quantity |
|---|---|---|
| habanero | burpee | 6 |
| hungarian wax heirloom | burpee | 6 |
| tomato 'summer choice hybrid' | burpee | 6 |
| tomato 'super sweet 100 hybrid' | burpee | 6 |
| tomato heirloom 'rutgers' | burpee | 6 |
| eggplant 'zhikou hybrid' | park | 12 |
| basil 'siam queen' | burpee | 6 |
| malva zebrina | livingston | 6 |
| shasta daisy 'white knight' | burpee | 6 |
| chrysanthemum 'robinson red' | burpee | 12 |
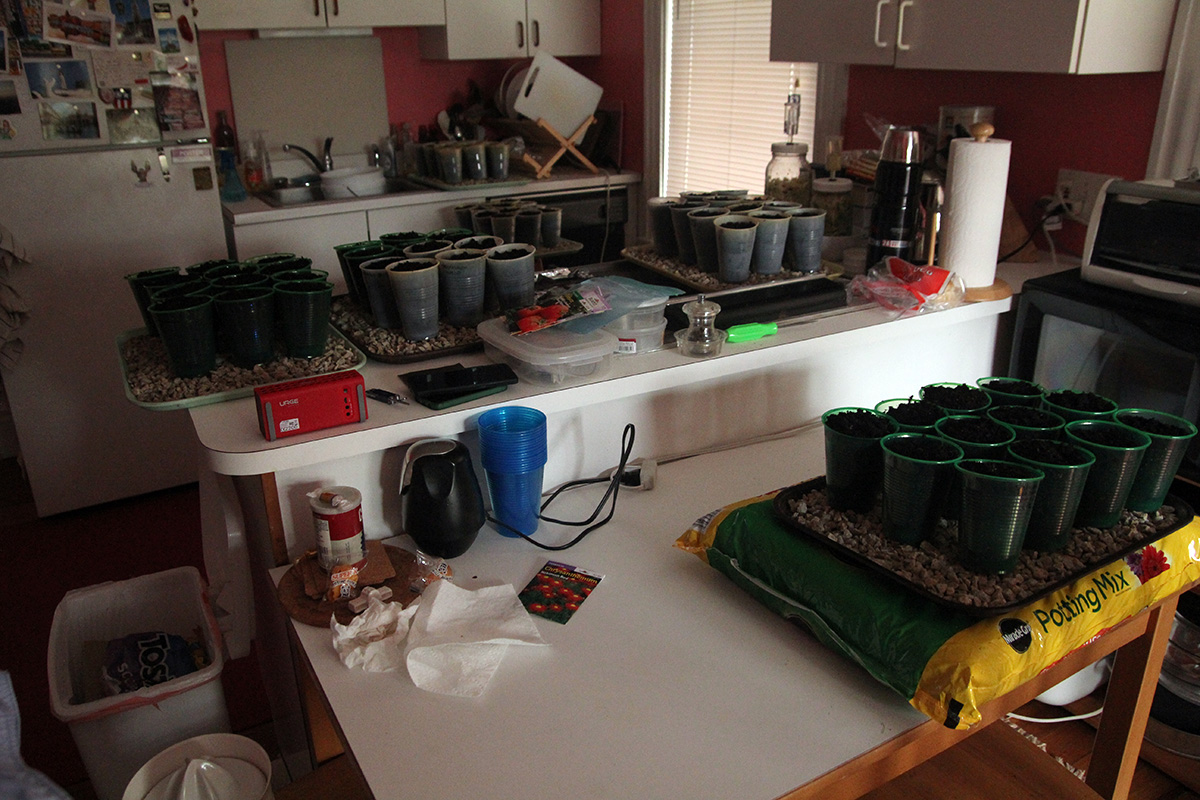
not a lot of hot peppers this year, a conservative amount of 6 habaneros and 6 hungarian wax. peppers are slow to produce and we're lucky to get a few by summer's end. a good collection of tomatoes, 18 total, i usually like to grow 3 different varieties: cherry, medium, and large. tomatoes are good producers and make economical sense to grow them, although in recent years late season blight kills them off by late summer. i'm growing a dozen japanese eggplants. these were the special seeds i ordered online, after not finding them locally. japanese eggplants have deep purple stems. i've had a lot of luck with them recently, and they're good producers too, about an eggplant per week per week on the hottest days of summer.
i had some leftover flower seeds from last year, malva zebrinas and shasta daisies. i think i will have some self-sown malvas in the garden, but i'm growing 6 more as insurance, or maybe to plant in the front yard of my house. i'm still not sure if they're perennials, i get the feeling they're productive annuals that self-sow readily. i planted a dozen red chrysanthemums, though they look like red daisies. these are supposedly perennials as well, they might look nice growing in the front yard too. since paul and steve won't be here all summer, i'll have the backyard/frontyard all to myself.
i'd heard that clouds would begin to roll in this afternoon in preparation for the fourth'easter arriving later tomorrow. i wasn't expecting much production but was pleasantly surprised to see by day's end we made 37.08 kWh. still 8kWh shy of our current peak, but still good production number, 3rd highest this month, 4th highest all time. this will hopefully make up for the lost production come tomorrow and perhaps the day after, though i heard the storm wouldn't really pick up until evening, so maybe there's still enough daylight to eke out some energy.
for dinner i had two slices of the beef pie i made last night. they're so dense that after heating them up in the toaster oven for 20 minutes, they were still lukewarm at best. i was so hungry by that point i didn't care and ate the two slices while watching episodes of altered carbon. at 10pm i watched the 2nd episode of for the people.
my parents sent me photos of them arriving in beijing from shenyang (afternoon our time, late night china time), then waiting at the airport for their 8:10am (8:10pm US time) flight to taipei. both of them had digestive issues while in china, hopefully it clears up once in taiwan. my aunt lili and matthew are coming back to boston tonight; i don't know if their flight will get delayed or cancelled due to the storm. i heard they were flying into new york city, which is ground zero for the worst of the four'easter's impact.
gearbest is having an anniversary sale and i managed to snag another xiaomi mi band 2 for my 2nd aunt for just $20. my mother really loves hers (especially the sleep tracking, she's obsessed over her low deep sleep rating) and my aunt seems to want to get into the fitness tracking craze as well. she even bought a pedometer a while back to keep track of her steps, but it wasn't one that could sync up with internet devices. the only bad thing is gearbest ships from china, and if the last time is indicative of the shipping speed, i probably won't receive it until a month later.
i also got a pair of loneyshow-brand wifi smart plugs for $16.99 from amazon.com. fakespot says the 39 reviews are all counterfeit (a rating of F) but i checked camelcamelcamel and this used to sell for $35.99 a pair, not sure why now it's so heavily discounted. there are other generic-brand chinese smart plugs out there, but this is one of the few that does energy monitoring. it also uses the same app as the yidian smart plugs. it doesn't look as fancy as the yidian, but it has a small-format shape. i figured the worst that could happen is they don't work and i'll simply return them to amazon.com. i really need just one, for the living room lamp currently on a timer, i'd like to turn it off remotely when nobody is home.
i finally got around to updating my tp-link router's firmware to DD-WRT. it wasn't hard, the worst of it was updating all the port forwarding rules and fixed IP addresses i have going on with my various internet devices.