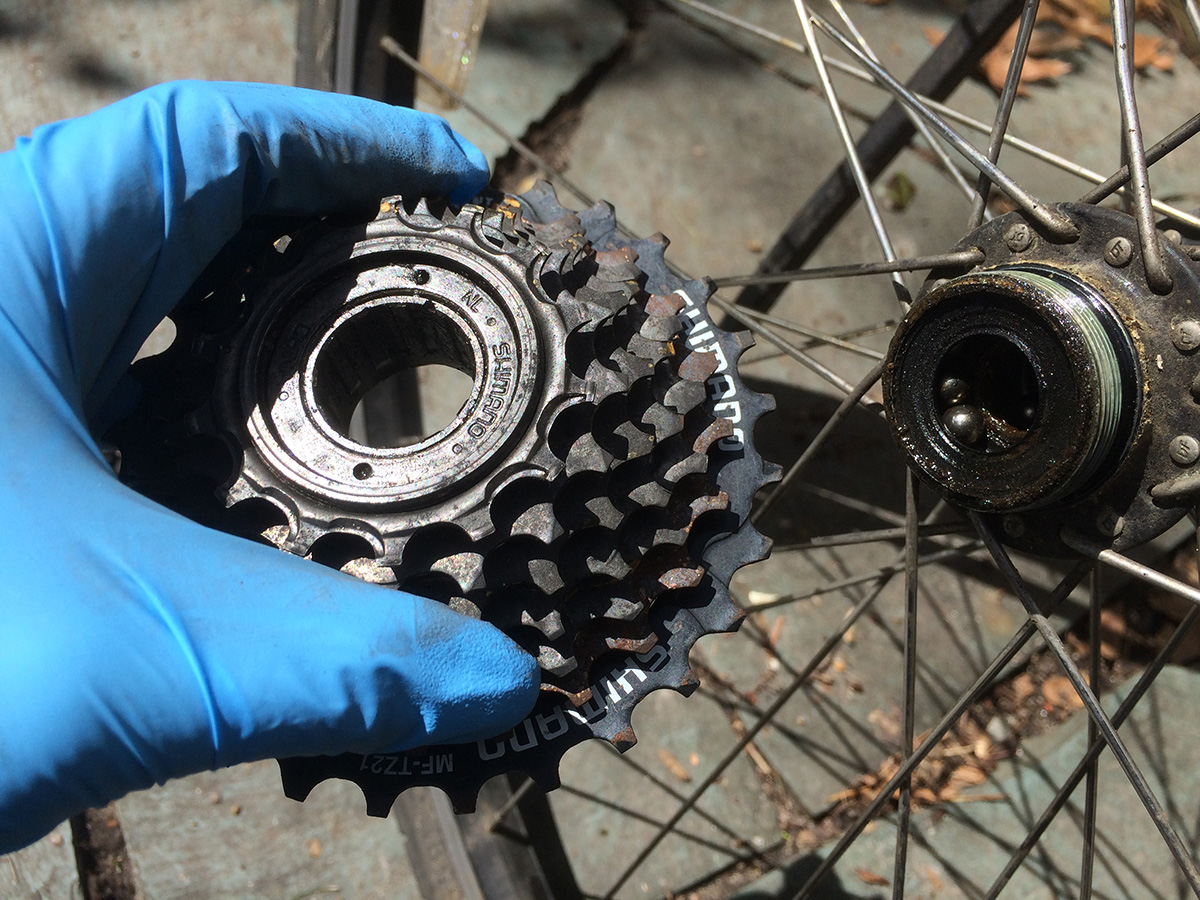
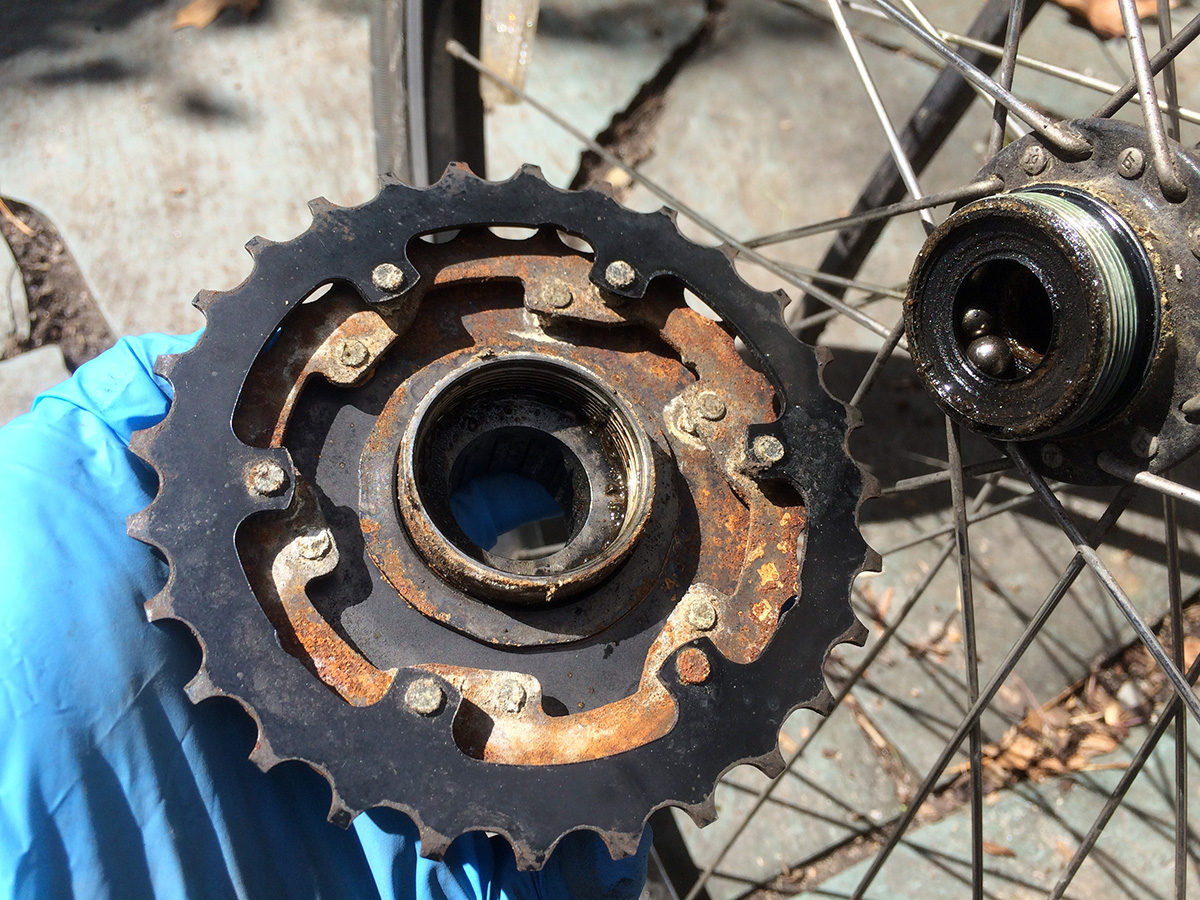
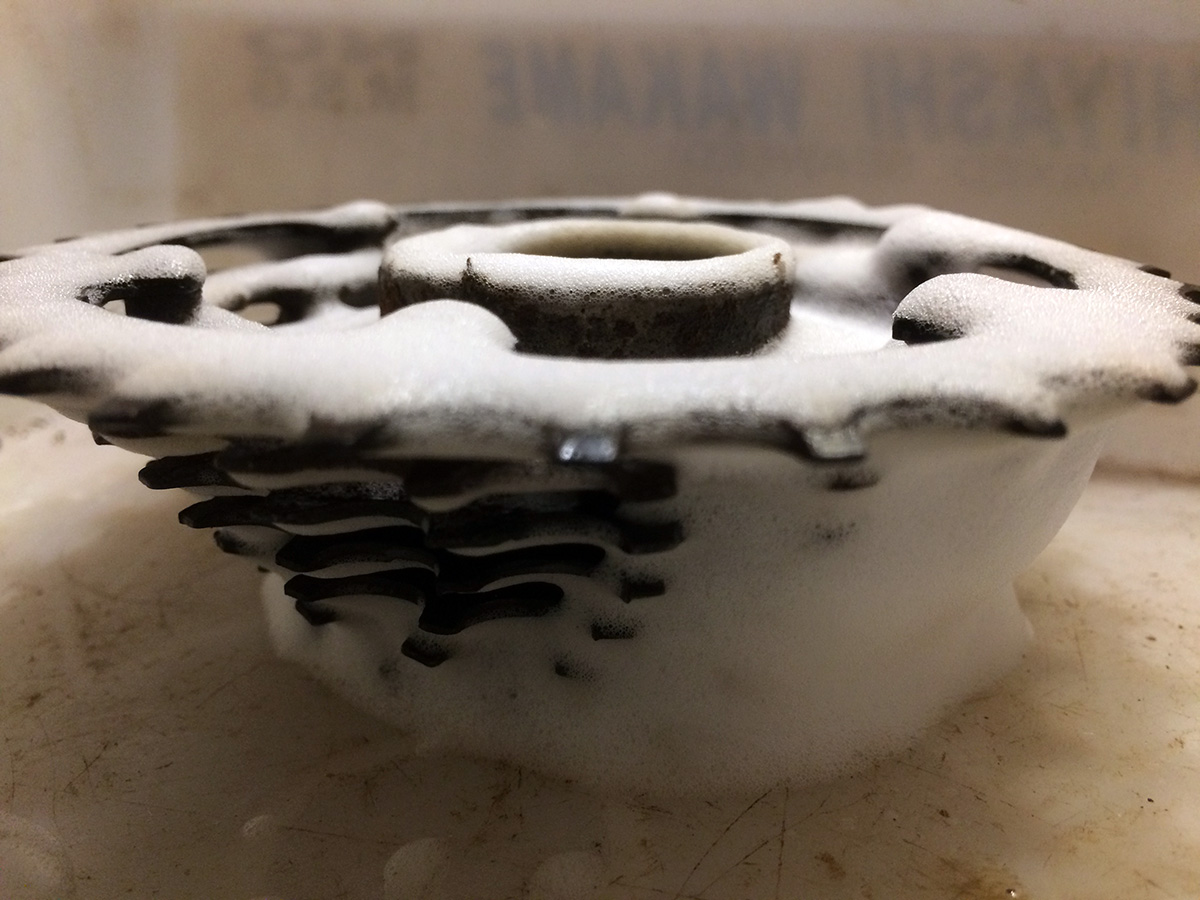
my father delivered the set of larger socket wrenches this morning on his way to market basket. inside was the 1" socket, which fits perfectly with my freewheel remover. after he left, i went to the backyard to try my luck with the freewheel. my initial attempts were unsuccessful, the freewheel was just too rusted shut to remove. it needed some lubricating pretreatment but i couldn't find my can of WD-40. i went out again to give the freewheel another try, this time stepping on the socket wrench handle with my foot. it gave a satisfying crack as the freewheel started to loosen. thankfully i had the foresight of greasing the threads when i initially installed the freewheel, i think that was real reason why it came loose. from that point it was just a simple matter of unscrewing the freewheel. the front side - the side i soaked in evaporust - was rust-free, while the back side was still rusty. i brought it inside and cleaned it up with some degreasing foaming spray before resoaking the entire freewheel in the used evaporust, rusty side down.
the rear tire of my cargo bike had gone flat. the tube was bad apparently, which wasn't surprising given it was a used patched tube. i took it out and submerged it in the bathtub to check for leaks. sure enough, it was leaking where the patch was. the leak was in an awkward place, very close to the valve, so difficult to patch. when i tried to remove the patch, it ended up creating an even bigger hole as the tube itself instantly deflated with a puff of dust.
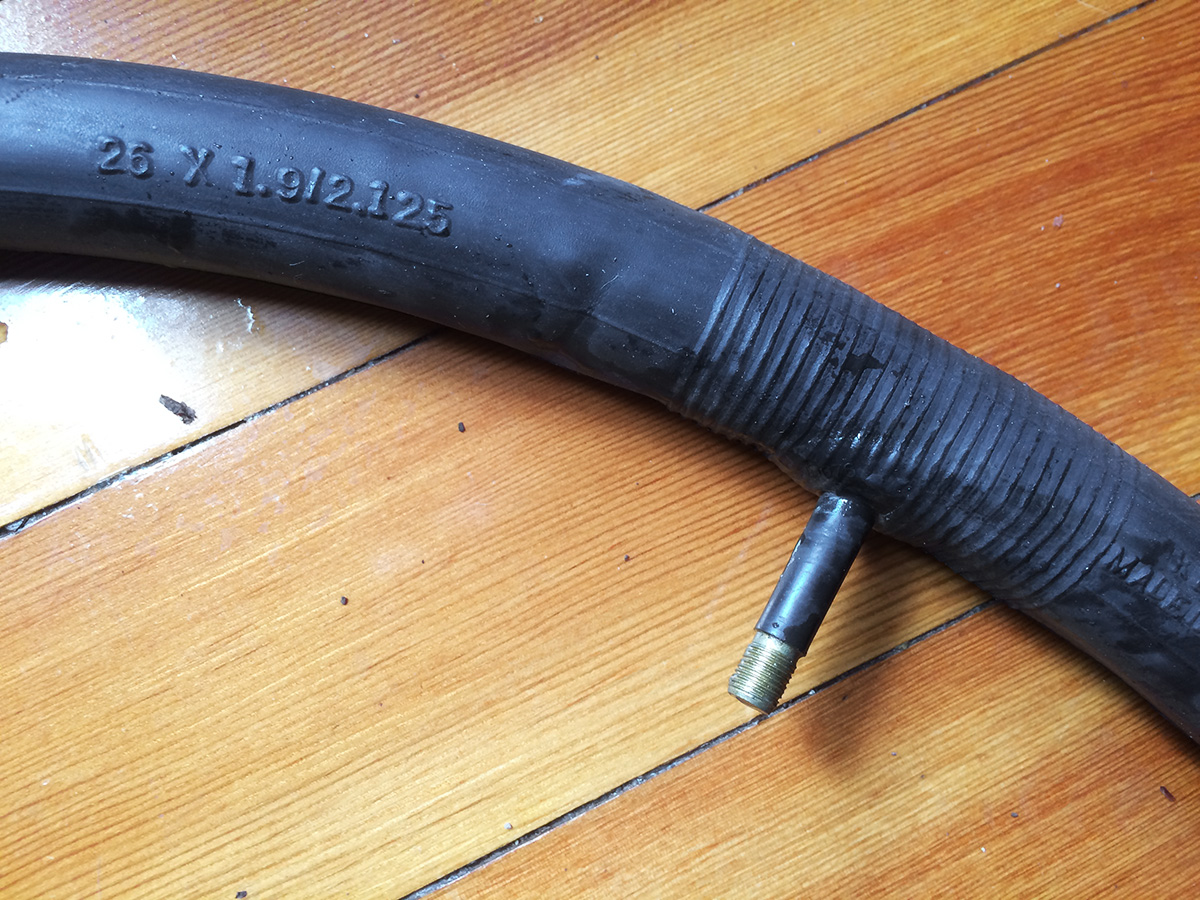
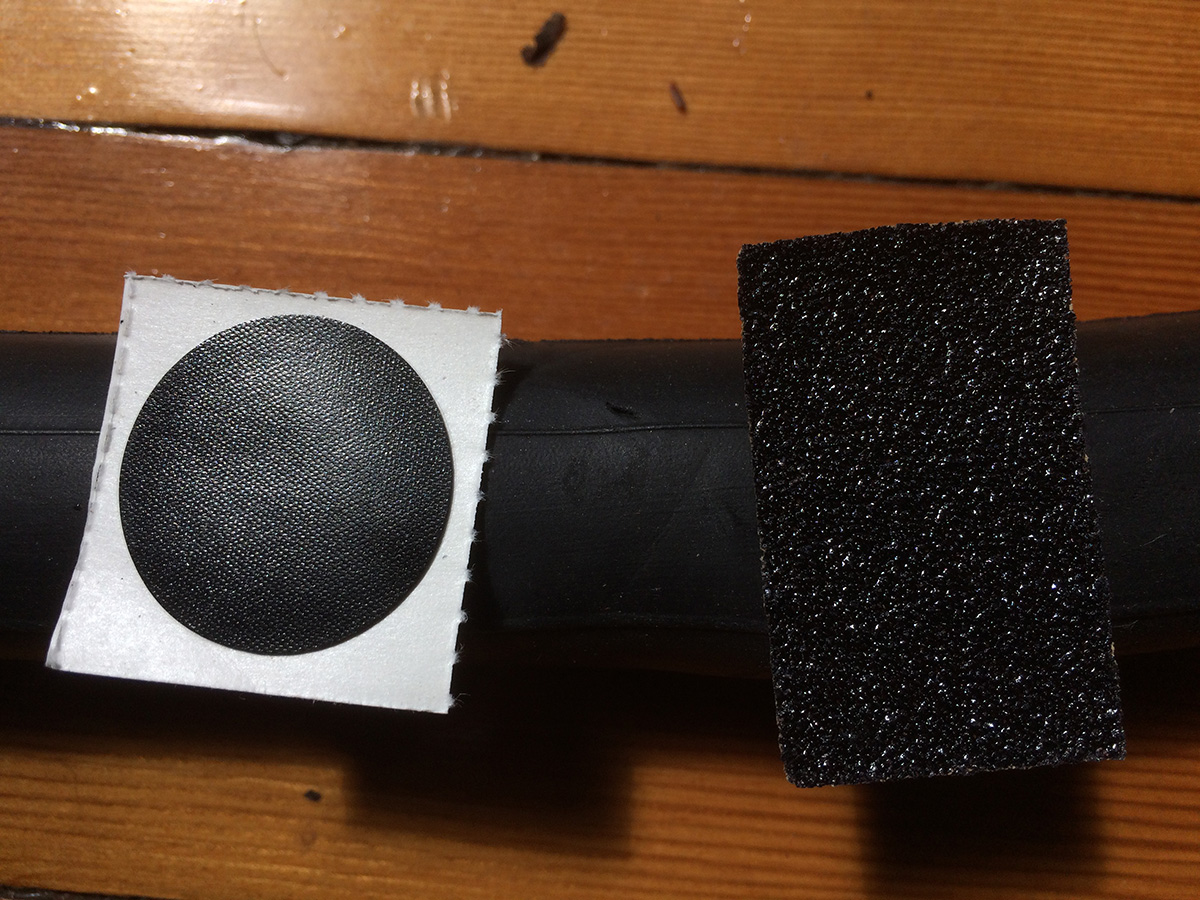
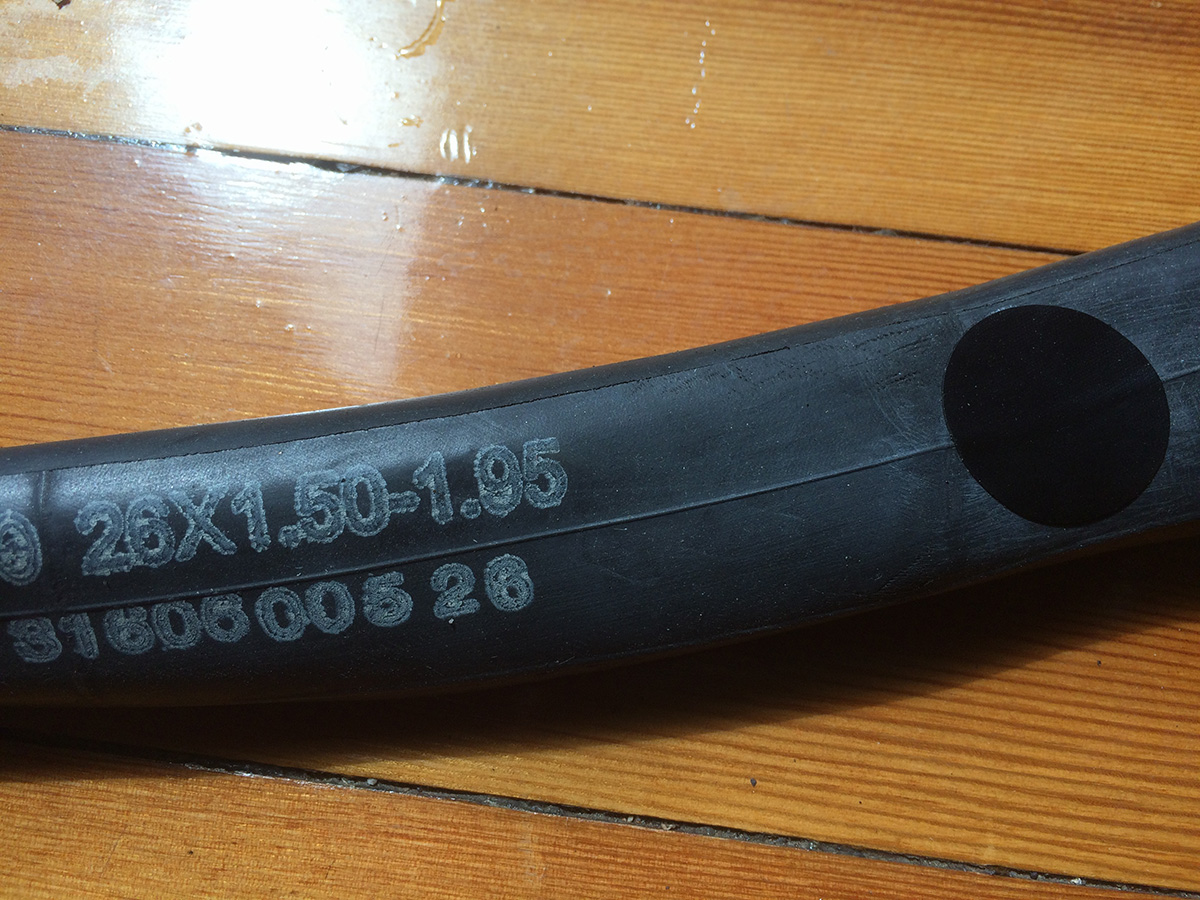
fortunately i had another tube, the one that was originally in the wheel, which also had a leak. i did the same thing with this tube, dunking it in the bathtub. the leak was pretty obvious, a spot where bubbles were coming out. it was strange though, the puncture was on the inner side (facing the hub), when typically it'd be on the outer side (facing the road). i patched it using a glueless patch sticker, which i've never used before. the weird thing about this tube is that it's embossed as a kenda 26 x 1.9/2.125", but it's printed as a sunlite 26 x 1.50-19.5". i installed it in the tire, inflated, then mounted back onto the bike.
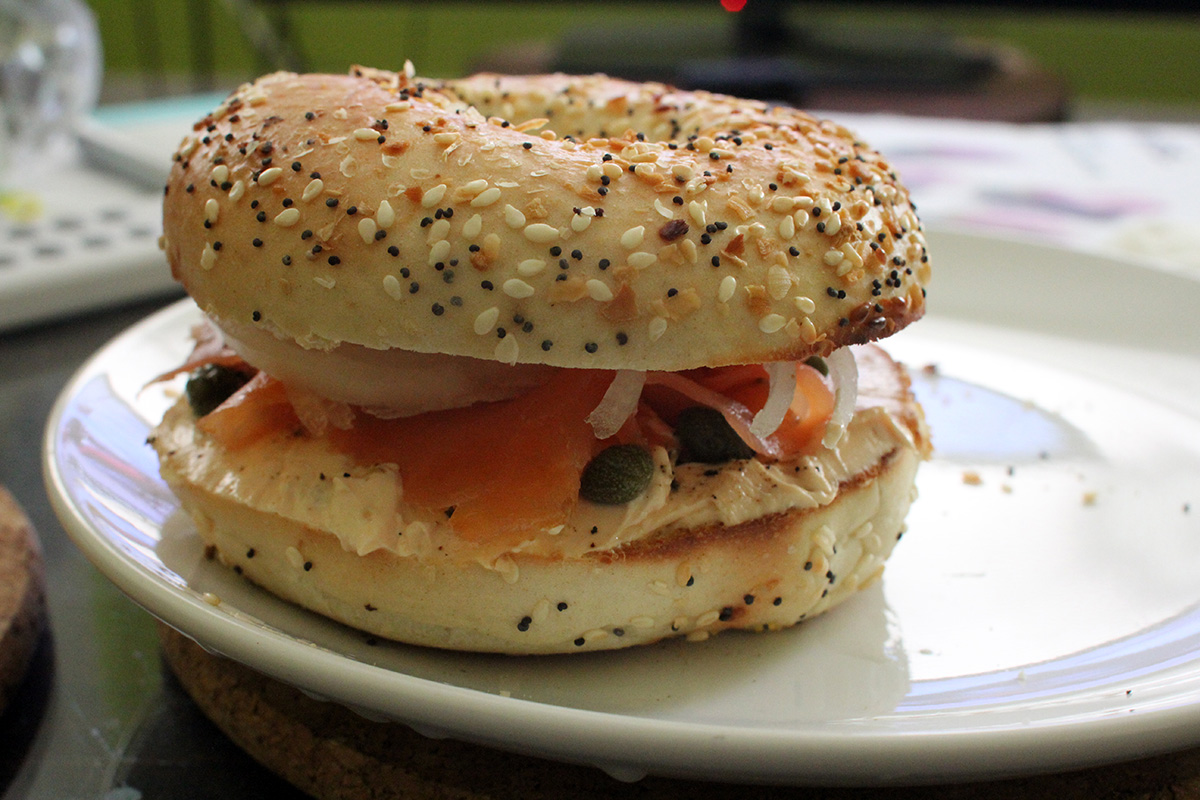
i made a salmon bagel sandwich for lunch with some of the norwegian salmon frances gave me. fresh salmon itself wasn't enough, as i also put some salmon cream cheese with capers and onion slices.

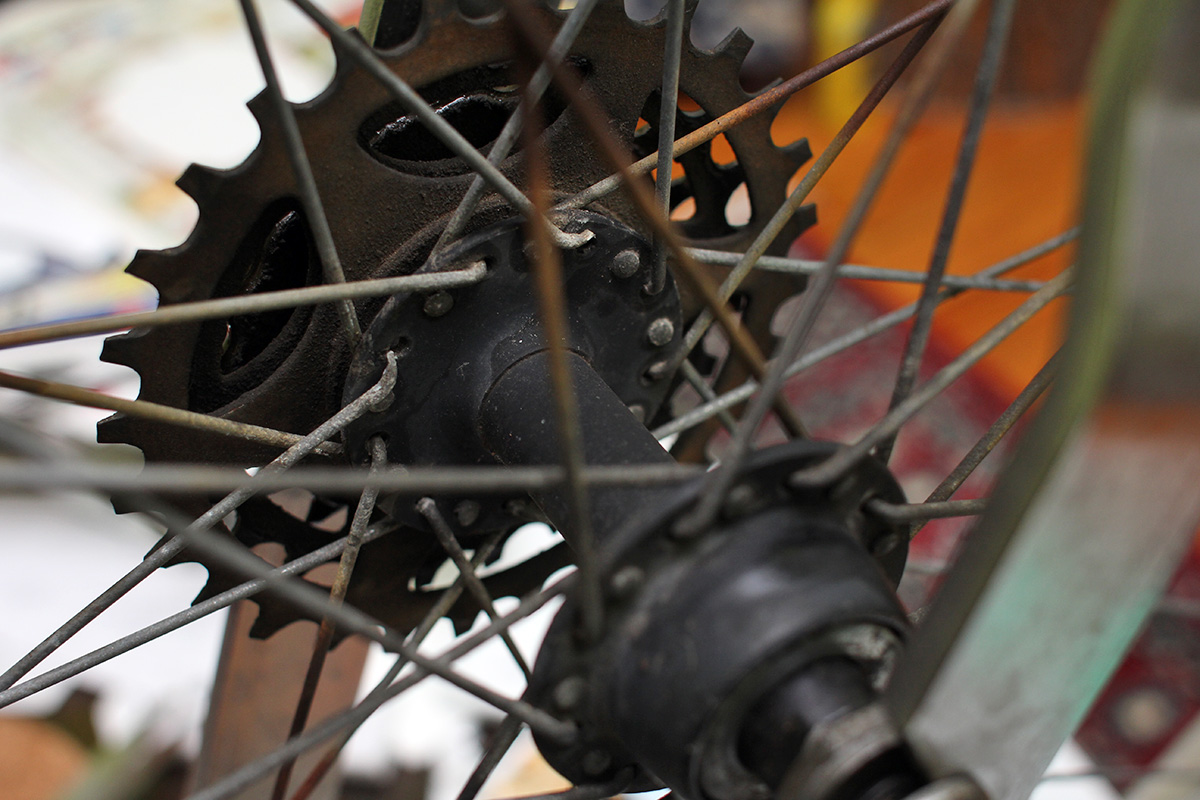
the ball bearings arrived today. i'm still waiting for my replacement inner tube, but i realized i could first put together the axle, packing in some new bearings. i grabbed the axle to figure out how to unscrew the various nuts, spacers, and cones. that's when i realized something: the hollow axle rode itself had sheared off! that would explain why everything came loose (including ball bearings) when i pulled out the quick release rod: that was the only thing holding everything in place. fortunately axle rods are cheap and can be easily replaced, except my nuts-spacers-cones seem to be rusted solid on the rod and can't be removed for the time being.
it might've been my imagination but the rear wheel on the cargo bike looked a little flat. i decided to pump it full of air again.
i found another 26" rear wheel in my basement. it was mounted on the truing stand and there was a reason for that because it had a lot of wobble. i wouldn't be able to use this wheel (it didn't even have a freewheel), but i could reuse its axle. the hub on this wheel was a little different, it had metal dust caps that screwed onto the axle rod. but i was hoping the rod itself was compatible with my cargo bike. it was only after i took everything apart did i see the rod was very different.
i put the wobble wheel on the cargo bike while i brought in the replacement (5-speed) wheel inside so i could true it. i noticed here was a bit of wobble earlier when i tried to mount the wheel.
around 7pm i went out to michael's to get some rubber cement for the old-style vulcanizing patches. the kit came with a tube of rubber cement already, but in my experience, it dries up after that first use, so i wanted to save it for an actual emergency. when i went to the back to get the bike,  i was disappointed to see that the rear wheel was flat again, despite putting in an old promising inner tube. maybe i punctured the tube while installing it, but my new theory is i think there's something inside the wheel rim itself that's puncturing the tube, i'll investigate tomorrow if i have the time. so instead of the cargo bike, i took my fuji road bike instead, bringing my lights as it was beginning to get dark. i had a 50% off coupon so a container of elmer's rubber cement was just $2. i came home and patched up the tiny hole i discovered in the 26x1.5" inner tube.
i heated up another slice of baked ziti for dinner. actually, i put it in the toaster oven when i went out, and by the time i got back half an hour later, it was ready to eat.
 i took out the rusty freewheel from the evaporust solution. the results were amazing, it's almost like magic. the back of the freewheel looked pretty corroded when i saw it this morning, but now it looks practically new except for the black spots. from now on i'm going to look for rusty objects just so i can clean them up using evaporust, i can't recommend it enough.