
i started the morning in the basement looking for the circuit breaker that controls the bathroom ceiling light. it would've been easier just to turn off the power main, but i didn't want it tripping something that later needs resetting (like the pilot light in the hot water heater, i'm still not quite sure how that works). besides, this way i can fill in some blanks, finally figure out which circuit breaker is wired to control which region of the house.
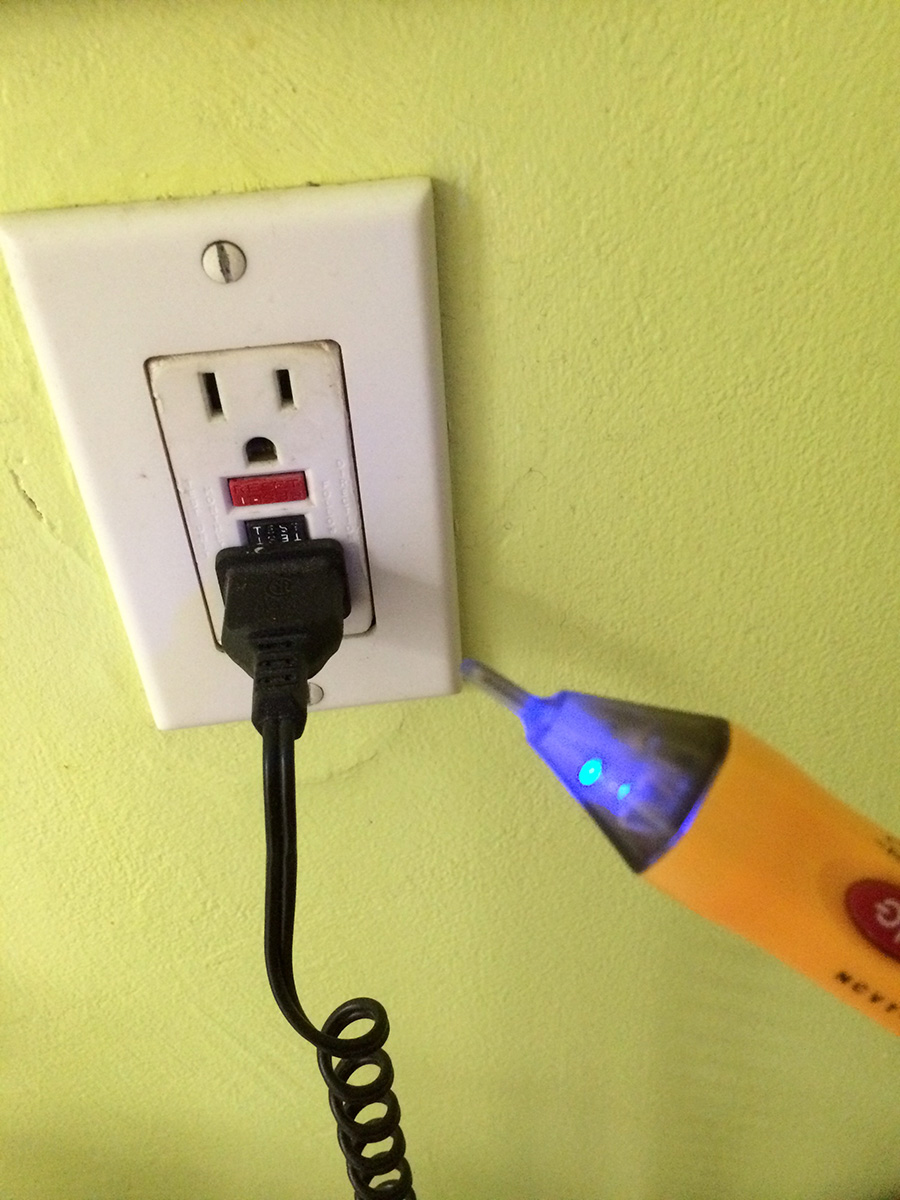
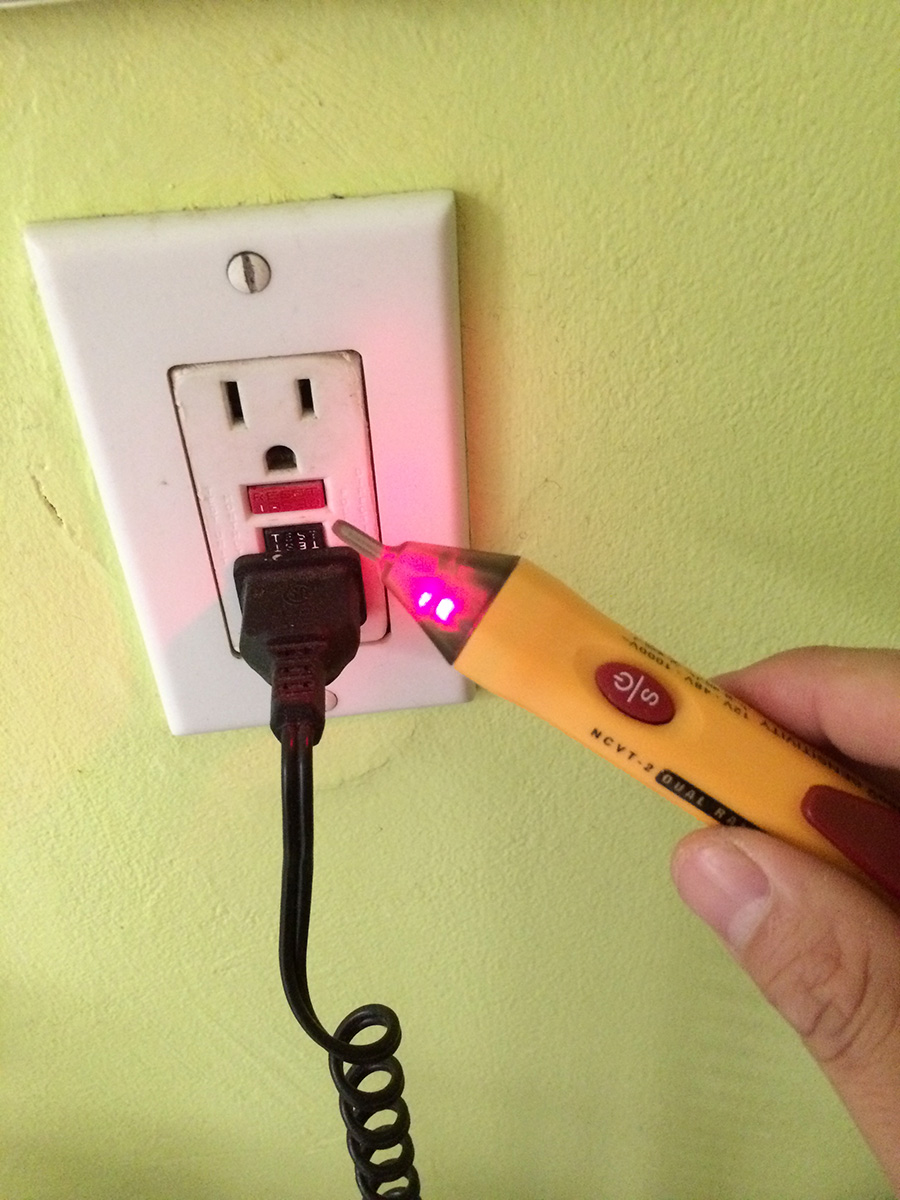
if i had another person it would've been quicker, but it took me nearly an hour, as i kept running downstairs turning off one circuit, then running back upstairs looking for the place in the house where the power went out using a lighted voltage tester (blue for cold, red for hot). by the end i tripped nearly all the breakers but still couldn't find the one that i wanted. i finally did find it, circuit breaker 1, mislabeled as kitchen when it fact it controlled nearly all the ceiling lights in the house (with the exception of closet and kitchen dining pendant).
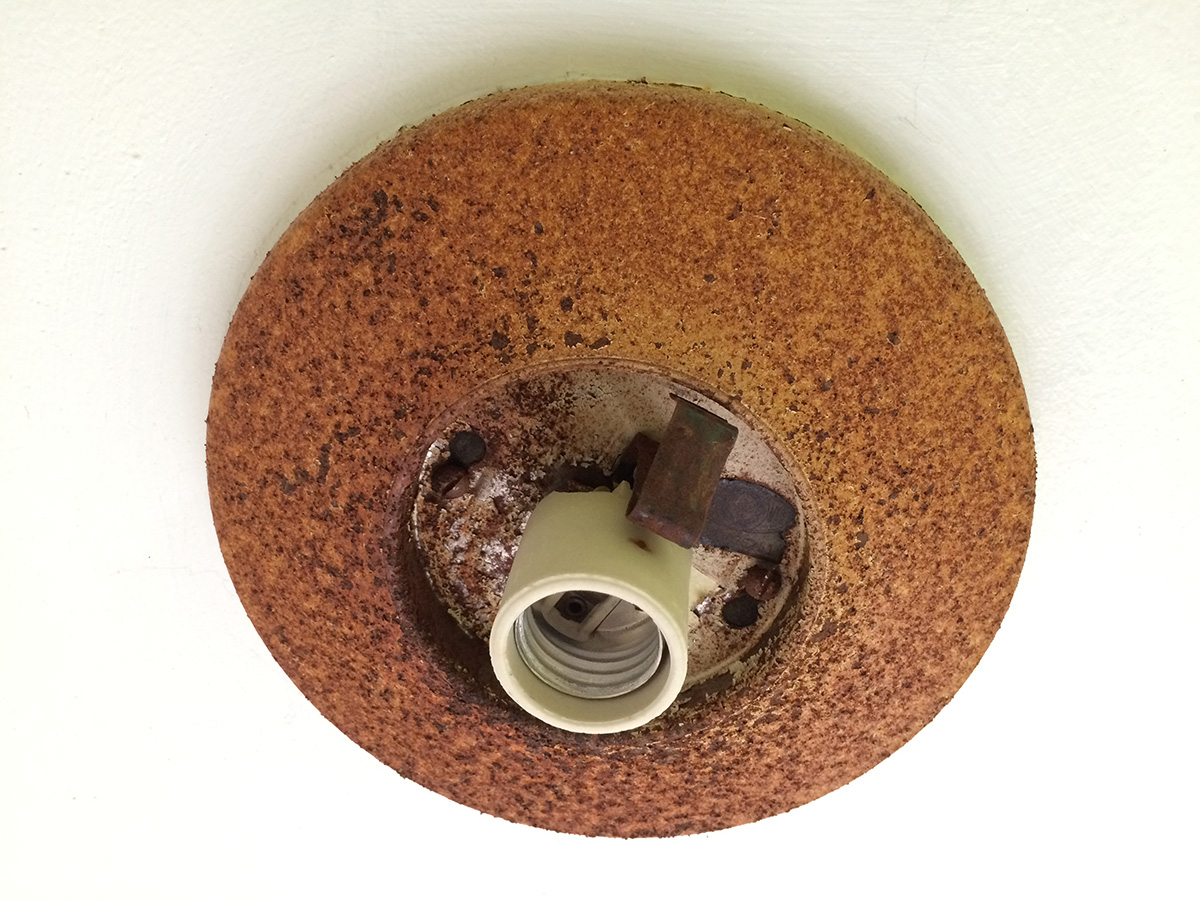
once the power was off, i went ahead and removed the bathroom ceiling light. that is one of the original lights in the house from when i bought it (the others are the porch lights and the kitchen dining pendant light). i'm not even sure how old it is, but over the years, the metal fixture started to rust in the moist bathroom environment, so now it's entirely oxidized. when my parents stayed over at my place while i was gone, my father noticed the glass globe enclosure was starting to fall, and discovered one of the two retention clips holding the globe in place had either snapped off or was entirely missing. so he took off the globe before it could smash anyone in the head. since then, i had this naked rusty bathroom fixture in serious need of a makeover.
 |
 |
 |
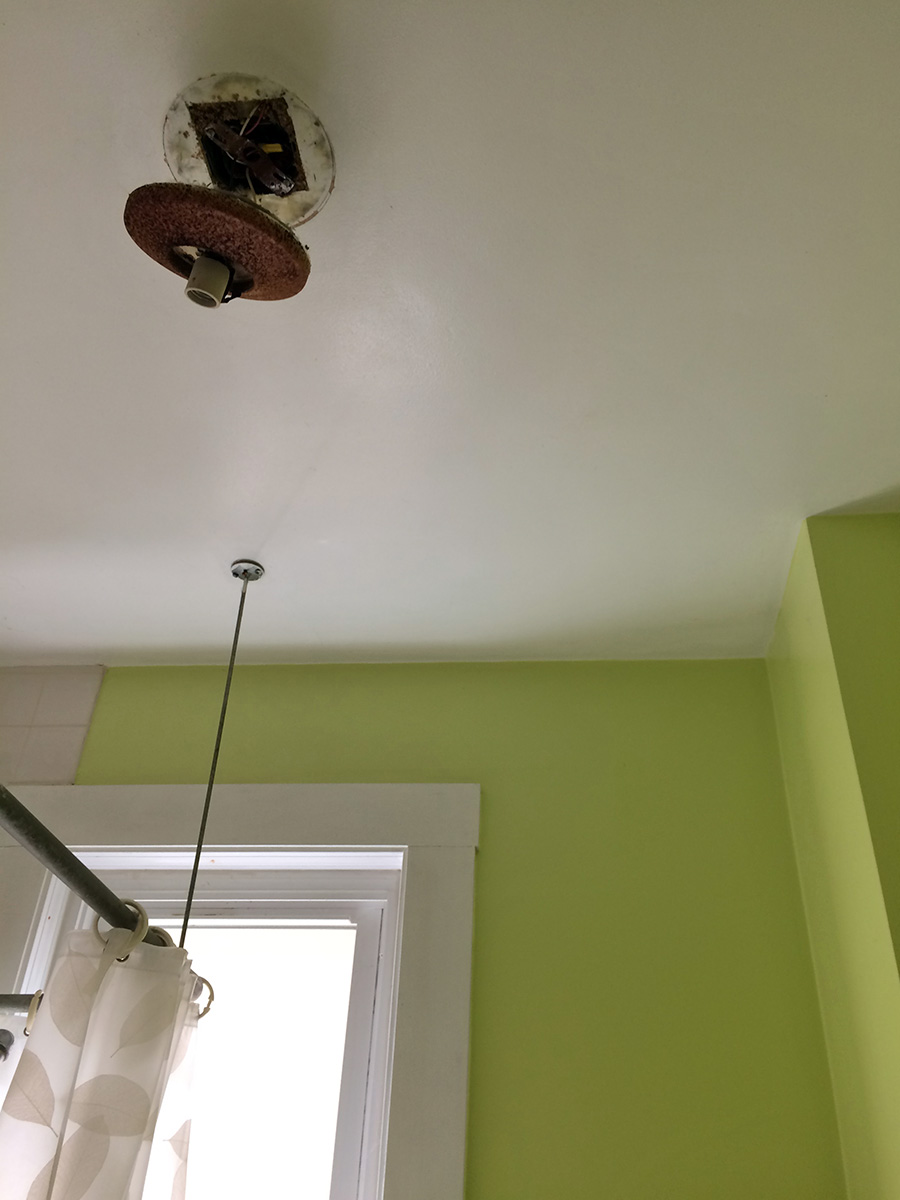
removing the fixture was tricky. even after i removed the screws, it was still attached to the ceiling. using a towel and a hammer, i knocked on the sides until it finally came loose. from the paint marks, i could tell this was an original light since i painted around it when i repainted the bathroom ceiling.
 |
 |
 |
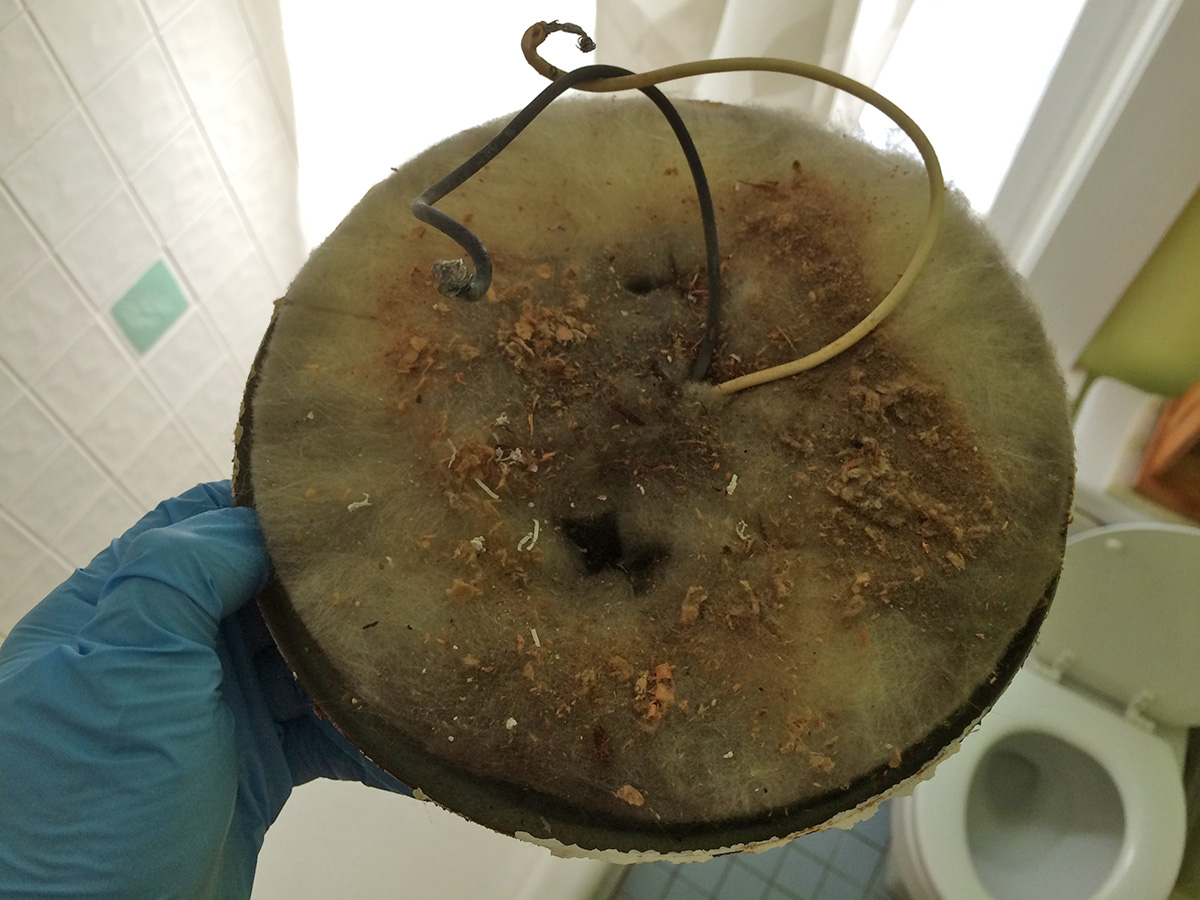
i then removed the metal mounting strap, before discounting the wires, making sure i take photos along the way so i can put everything back the way it was before. this house was built in 1903 so it's interesting to see thick wire cables braided in rope fabric instead of rubber.
 |
 |
 |
once the fixture was removed, i put the end caps back on the exposed wires, just to make sure it doesn't short circuit.
 |
 |
 |
my original plan was to repair the fixture. the rust i could clean off, then spray the fixture with white appliance epoxy, so it'd look as good as new. as for the retention clip, if i could find the missing piece, i could rivet it back onto the fixture. i called my father asking if he saw the retention clip when he removed the glass globe, but he couldn't remember. he advised me to just get a new fixture, something like $10+, instead of spending the time refurbishing this old one.
 |
 |
 |
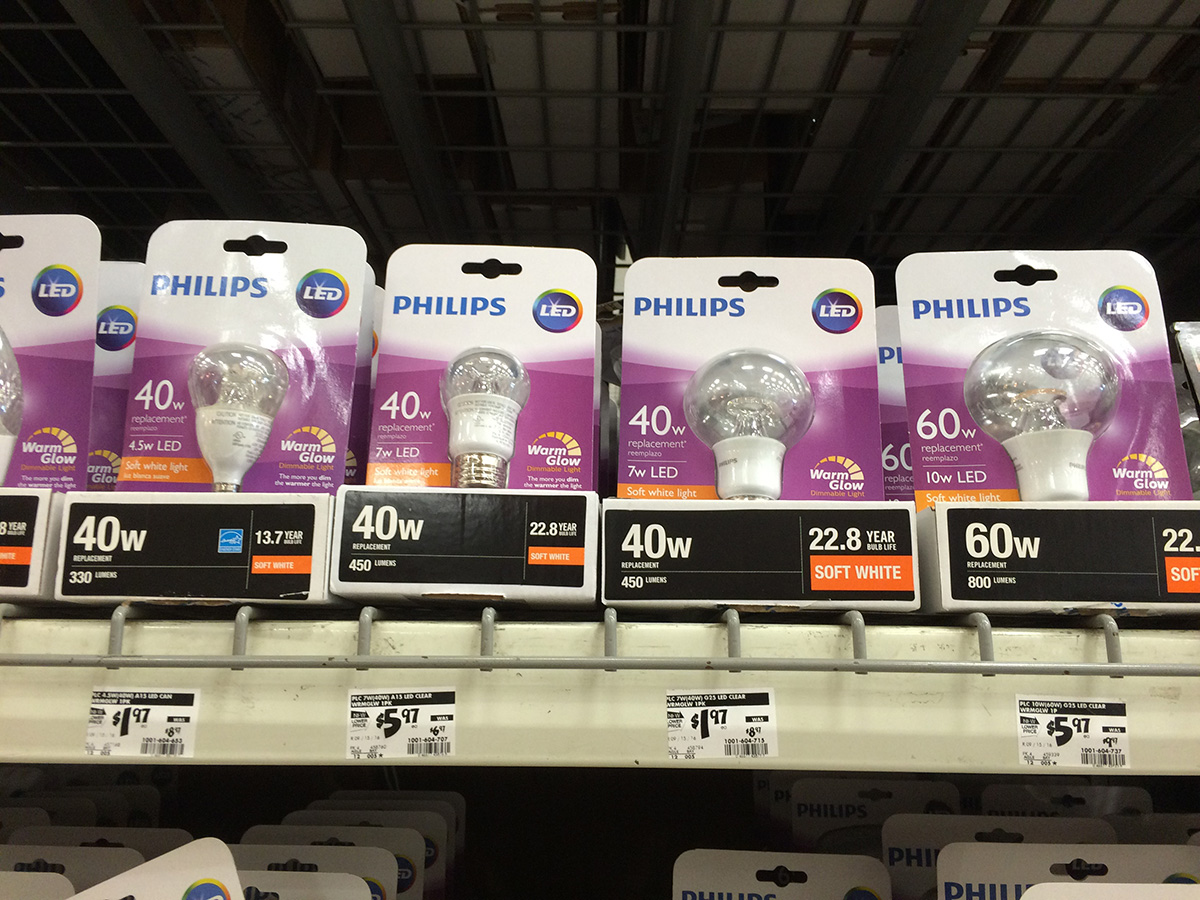
in the afternoon i took the motorcycle to belmont. when my parents returned home, we left for the arsenal mall. my mother has no interest in home depot (can't even remember the last time she was there), so she went to the nearby old navy while my father and i shopped for supplies. we were most interested in the slew of new LED lights, as cheap as we've ever seen them ($2 a piece), with fancy designs like a glass "flower" inside to better transmit the light. i ended up getting $50 worth of supplies, including wood filler for the missing paint area on the bedroom, a small can of semi-gloss pure white acrylic behr paint ($15), some clear plastic tarps, and an appliance epoxy spray (for my aging refrigerator door). i also got a new ceiling light ($12). it doesn't match the 7" diameter of my previous light, this one is 8", but it will cover up the mismatched ceiling paint area. we drove to the other side of the mall to pick up my mother before heading back home.
 |
 |
 |
i returned to cambridge after dinner, the ceiling light strapped to the back of the motorcycle with bungie netting, the rest of the supplies in my backpack.

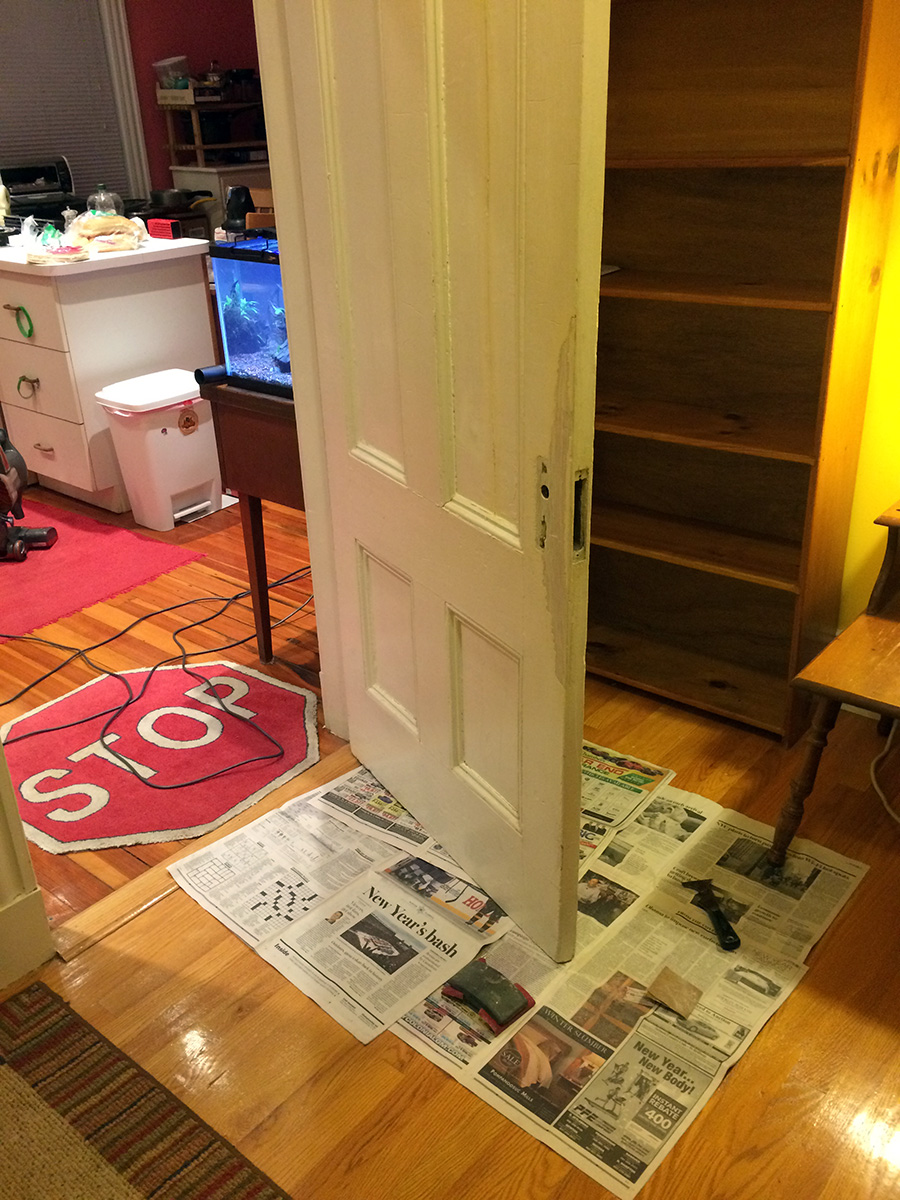
i didn't want to work on replacing the ceiling light until morning because i wouldn't be able to see very well with the electricity turned off. instead i went to work on patching up the guest bedroom door. after laying down some newspaper, i went about sanding the door surface, before using the wood filler to patch up any uneven areas. in hindsight i should've sprung for the color-changing wood filler for an extra $1, because the one that i got i can't tell when it's dry (i guess i could feel it to see). i'll let it dry overnight and sand it again tomorrow. from the looks of it, i may need to do another coat of patch to really even out some larger areas. once i get it painted though, you won't be able to tell the difference.
 |
 |
 |
 |
 |
 |
 |
 |
 |
 |